Meshing
We can technically make our Hello Kitty shirt using the already existing EA t-shirt. But what fun is that?! You are most likely reading this tutorial to learn how to really create custom clothing, and making you own meshes adds an extra kick to your creation!
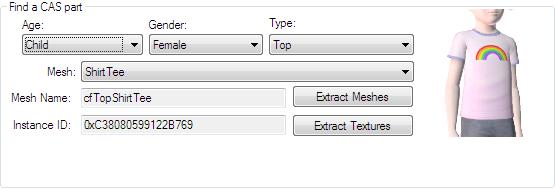
So now that we've decided which CAS part we are going to clone, it's time to extract some base meshes to build our custom mesh off of. Click Extract Meshes just under the CAS parameters. A window asking where to save your meshes will pop up. Choose whatever destination folder you want to save your work files in and click "Okay". You may now close CTU for now.
I highly recommend you make an independent file for all of your project work files, as CAS creation can get a little messy.
Importing Into Milkshape
Looking where ever you saved your files, you should now see four new files:
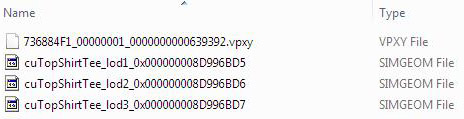
There are three SIMGEOM files and one VPXY file. You can discard the VPXY file as it is not used. The three .simgeom files are the three lod meshes of the shirt.
|
The word "lod" is an acronym that stands for level of detail. Lod 1 is the highest level of detail, where as lod 3 is the lowest. You will see lod 1 during normal - up close - gameplay. But when you are viewing sims from a distance or the game is still rendering sims, you will most likely see them in lod 2 or lod 3 form.
|
Scale/Move
Don't add/delete anything
Adjusting the UV Map
Whatever you do, do NOT create a new map.
Dem Bones
Get reference meshes, e.g. pants, skirts, dresses,etc.
Lods
Export
| 
